


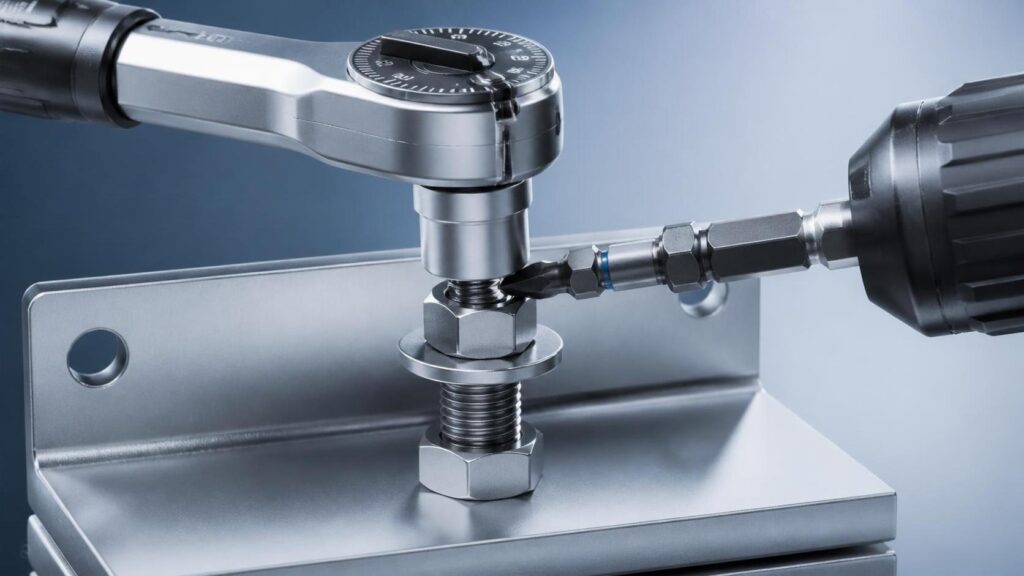

When tightening tools cause fastener damage and how to prevent it
Fastener damage often begins at installation, not in service. In hardware work, a joint may look secure at first and still be compromised by the way Tightening Tools were used. Stripped threads, rounded heads, broken coatings, and uneven clamp load are common results. The problem is not always the fastener itself. Quite often, it comes from poor torque control, the wrong bit or socket fit, misalignment, or an operator pushing speed ahead of feel.
That matters because damage introduced during tightening is hard to see once assembly is finished. A screw head may remain intact while the internal thread has already been stretched or cross-threaded. An impact tool may seat a bolt quickly but leave the joint with inconsistent preload. In applications where vibration, repeated opening, or mixed materials are involved, those small installation errors usually show up later as loosening, leakage, or premature replacement.
Where the damage really comes from
Overtightening is the obvious cause, but it is not the only one. Undersized or worn drive bits can cam out and deform the recess before the target torque is even reached. A tool applied at an angle puts side load on the head and thread, which increases the chance of galling or cross-threading. High-speed power tools also reduce feedback. Operators may not feel when resistance changes because of burrs, dirt, plating buildup, or mismatched thread pitch.
Material combination matters too. Stainless fasteners, for example, can be more prone to seizing if the joint heats up during rapid installation. Softer base materials are less forgiving when torque spikes occur. If washers are omitted where they are needed, the tool may appear to tighten normally while the bearing surface is actually crushing.
How to reduce damage in day-to-day use
The most effective fix is usually not a more powerful tool. It is better process control.
Start with fit. The bit, socket, and fastener recess should match exactly and be replaced before wear becomes visible. Keep the tool square to the joint, especially on smaller screws where slight misalignment quickly ruins the head. If a joint is critical, avoid relying on impact force alone; use tools with adjustable torque or a verified shutoff method. Where a torque value is specified, operators should follow it rather than tighten “by feel,” because feel changes with speed, lubrication, coating, and thread condition.
Thread starts deserve more attention than they usually get. Hand-starting a fastener for the first turns is still one of the simplest ways to prevent cross-threading. Clean threads also help. Dust, chips, and old locking compound can distort tightening behavior enough to mislead even experienced users.
What operators should watch for
A sudden drop in resistance, unusual squealing, repeated bit slip, or a fastener that “spins forever” are not minor signs. They usually mean damage has already started. Stopping early prevents a bad joint from being hidden inside a finished assembly.
In practice, preventing fastener damage is a mix of correct Tightening Tools, stable technique, and attention to joint conditions. If failures keep repeating, the answer is rarely just to tighten harder. It is usually time to check tool calibration, drive fit, thread condition, and whether the installation method matches the fastener and material pair. That review often saves more rework than replacing damaged hardware after the fact.